 Global
Warranty Group Setup
Global
Warranty Group Setup
Global
Warranty Group Setup
Global
Warranty Group Setup
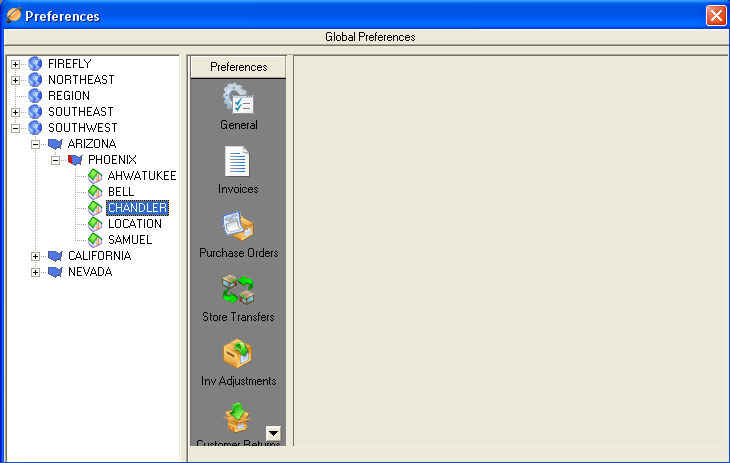
Preferences
1. Go to View - Preferences.
2. Click on Global Preferences.
3. Enter the Global Warranty URL, Access License Number, User ID and User Token.
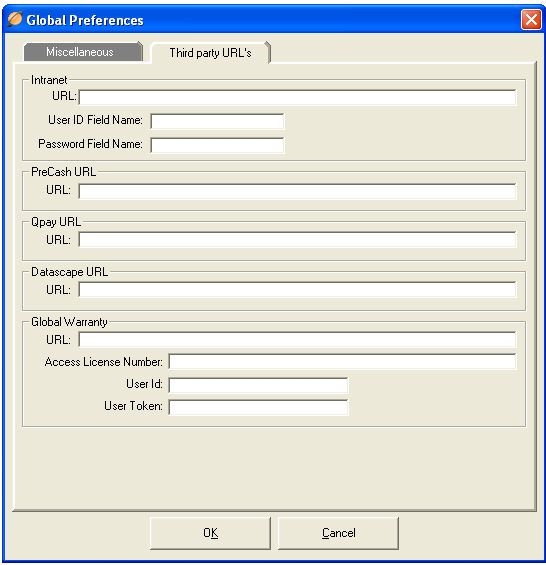
4. Save and Close.
Vendors
1. Create a vendor named 'GLOBAL'.
2. Click on Master files and then Vendors.
3. Click New in Vendors.
4. Use 'GLOBAL' as the code.
5. Type in 'Global Warranty Group' as the name.
6. Set the 'Associated eVendor' to 'Global Warranty Pay as You Go' or 'Global Warranty Prepay' (depending on the product type.) Click save.
7. Click Update Products and select the corresponding product (Pay as You Go or Prepay.)
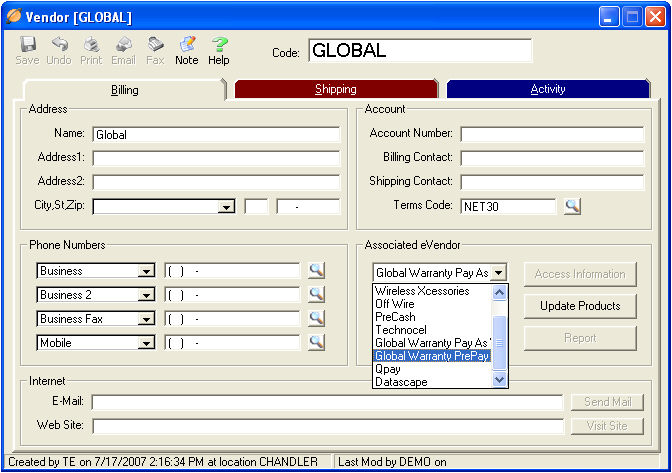
8. Save the record.