 PreCash
Setup
PreCash
SetupPreCash
Setup
Global Preferences
1. Go to View - Preferences and select Global Preferences from the top and then Third Party URL's.
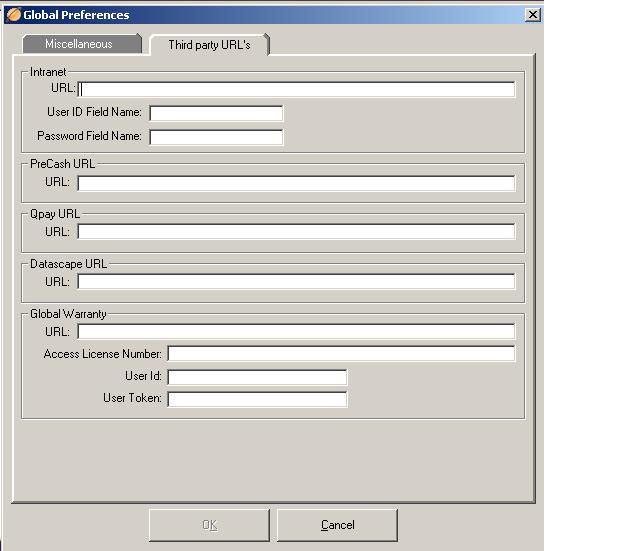
2. Type in the following URL under PreCash URL: https://customer.precash.com/merchant/
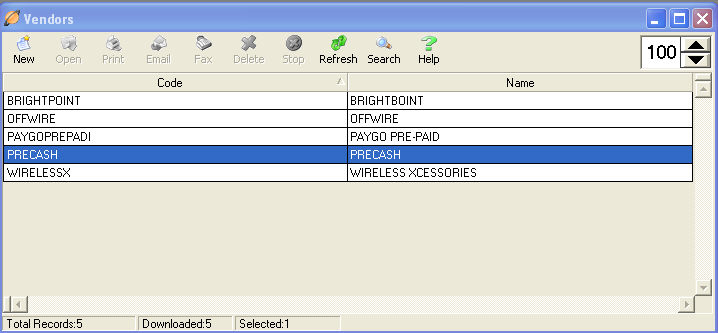
Vendor Setup
1. Go to Master Files - Vendors and select new vendor (or select PreCash if already listed)
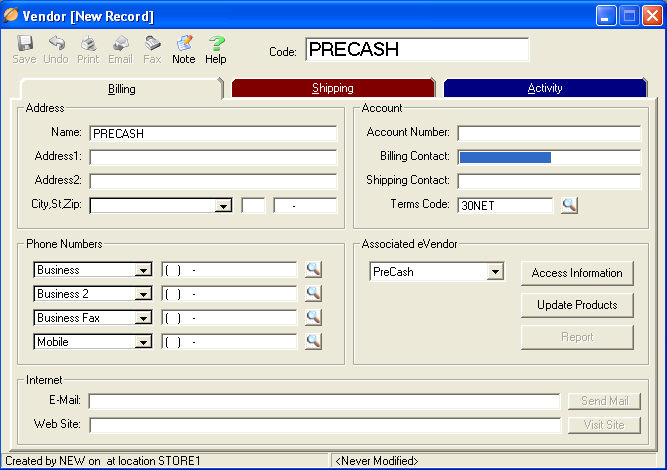
2. Enter PreCash under Code and enter PreCash as Name, no other information is required. Click save.
3. Select PreCash from Associated eVendor drop-down box and click Save.
Product Addition
1. Select Update Products and you should see the screen below.
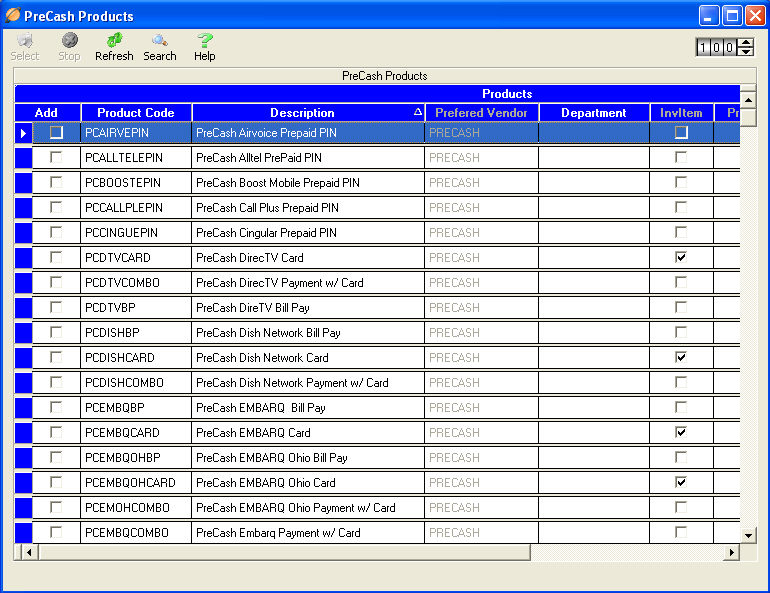
2. Select the product you would like to add and choose the department from the department drop-down box on the line of the product selected.
3. Once the department has been added, the select button will become available. Click Select to add the product to product list in TeleTracker Online.
Adding Your User Name and Password
Go to:
Master Files
Locations
Click on a store location
On the bottom of the screen select PreCash
Type in the user name and password.